
Installing new window hardware can be a rewarding and cost-effective way to enhance the functionality and appearance of your windows. Whether you’re replacing worn-out hardware or upgrading to a new style, doing it yourself can save you money and give you a sense of accomplishment. In this step-by-step guide, we will walk you through the process of DIY window hardware installation, ensuring a successful and professional-looking result.
Step 1: Gather the Necessary Tools and Materials Before you begin, gather all the tools and materials you’ll need for the installation. This may include:
- New window hardware (locks, handles, hinges, etc.)
- Screwdriver (Phillips or flathead, depending on the screws)
- Measuring tape
- Pencil or marker
- Level
- Power drill (optional, depending on the hardware)
- Safety glasses
- Masking tape (for protecting the window frame)
Step 2: Remove the Old Hardware If you’re replacing existing window hardware, start by removing the old components. Use a screwdriver to unscrew and remove the screws holding the hardware in place. Be careful not to damage the window frame or surrounding area during this process. Once the screws are removed, gently pry the old hardware away from the window.

Step 3: Prepare the Window for Installation Inspect the window frame and clean it if necessary. Remove any debris, dirt, or old adhesive from the previous hardware. Use a mild cleaner and a soft cloth to ensure a clean surface for the new hardware installation.
Step 4: Measure and Mark Take accurate measurements of the window to ensure proper placement of the new hardware. Use a measuring tape to measure the distance between screw holes or any other necessary measurements. Mark the positions for the new hardware using a pencil or marker. Use a level to ensure that the markings are straight and aligned. Like the article? Read also about Preserving Style and Function.
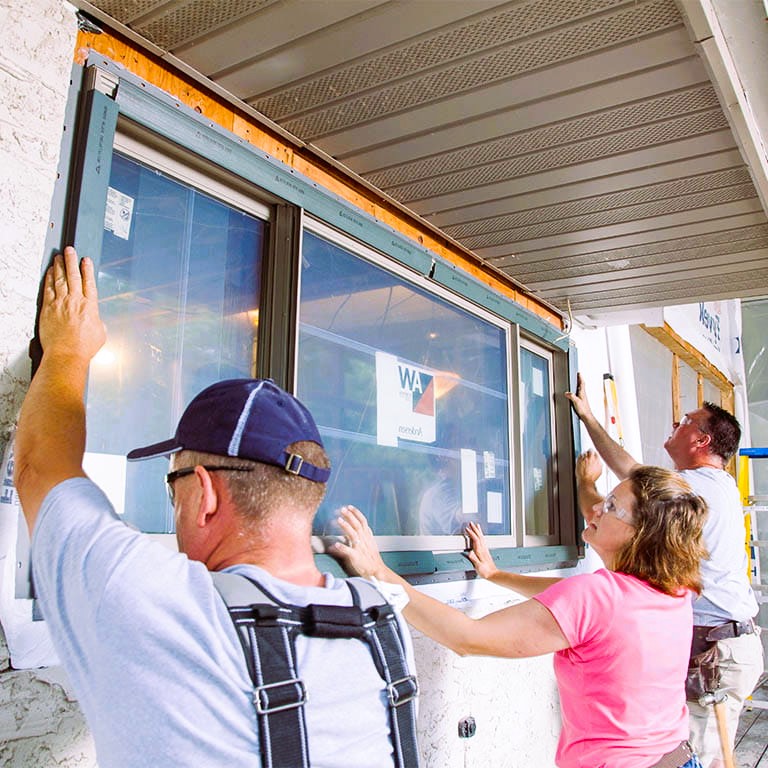
Step 5: Install the New Hardware Begin by aligning the new hardware with the marked positions on the window frame. Hold it in place and insert the screws through the screw holes. Use a screwdriver to tighten the screws, ensuring that the hardware is securely attached. If necessary, use a power drill with the appropriate screwdriver bit for quicker installation. Be cautious not to overtighten the screws, as it may damage the hardware or window frame.
Step 6: Test the Functionality After installing the new hardware, test its functionality to ensure it operates smoothly. Open and close the window, engage the locks or latches, and check that everything is working correctly. Make any necessary adjustments or tighten any loose screws to ensure optimal performance.
Step 7: Finishing Touches Once you’re satisfied with the installation, clean the window and surrounding area to remove any fingerprints, smudges, or debris. If desired, you can use masking tape to protect the window frame during the installation process. Remove the tape carefully to avoid damaging the newly installed hardware.
Important Tips and Safety Precautions:
- Follow the manufacturer’s instructions and guidelines for the specific window hardware you’re installing.
- Take your time and double-check measurements and markings before drilling or screwing anything in place.
- Wear safety glasses when using a power drill or working with hardware that may cause flying debris.
- If you encounter any difficulties or feel unsure about the installation process, consult a professional or seek assistance.
By following this step-by-step guide, you can confidently tackle DIY window hardware installation in your home. Remember to choose high-quality hardware that matches the style and function you desire. Proper installation will enhance the overall look and functionality of your windows, making your home more secure and aesthetically pleasing.